

Mastering the Application of Screen Protector: A Step-by-Step Manual
Mastering the Application of Screen Protector: A Step-by-Step Manual
The inquiry ‘how to put screen protector’ produces over a hundred thousand outcomes. This might seem like an easy task at first. However, it is easy to get a perfect finish that is free from bubbles and any other imperfections if only you are patient enough and do it with great care. In this inclusive guide, we will take you through every step of the process drawing from what has been regarded as best practice as well as expert advice so that your application of a screen protector becomes flawless and successful. Get your protector ready and let us jump into the details of keeping your smartphone’s display safe.
First Step: Choose Appropriate Protector for Your Device
It is essential to ensure that before beginning this procedure, one should have acquired a perfectly fitting cover. These protective covers come in different types such as tempered glass which is very strong or TPU (thermoplastic polyurethane) which can flex easily while maintaining durability or even PET (polyethylene terephthalate) known for being tough among others; they all offer varying levels of protection, clarity and touch sensitivity. For most users who want something that will last long without looking fake then go for tempered glass protectors because they look exactly like the original phone screen.
Second Step: Tools Required
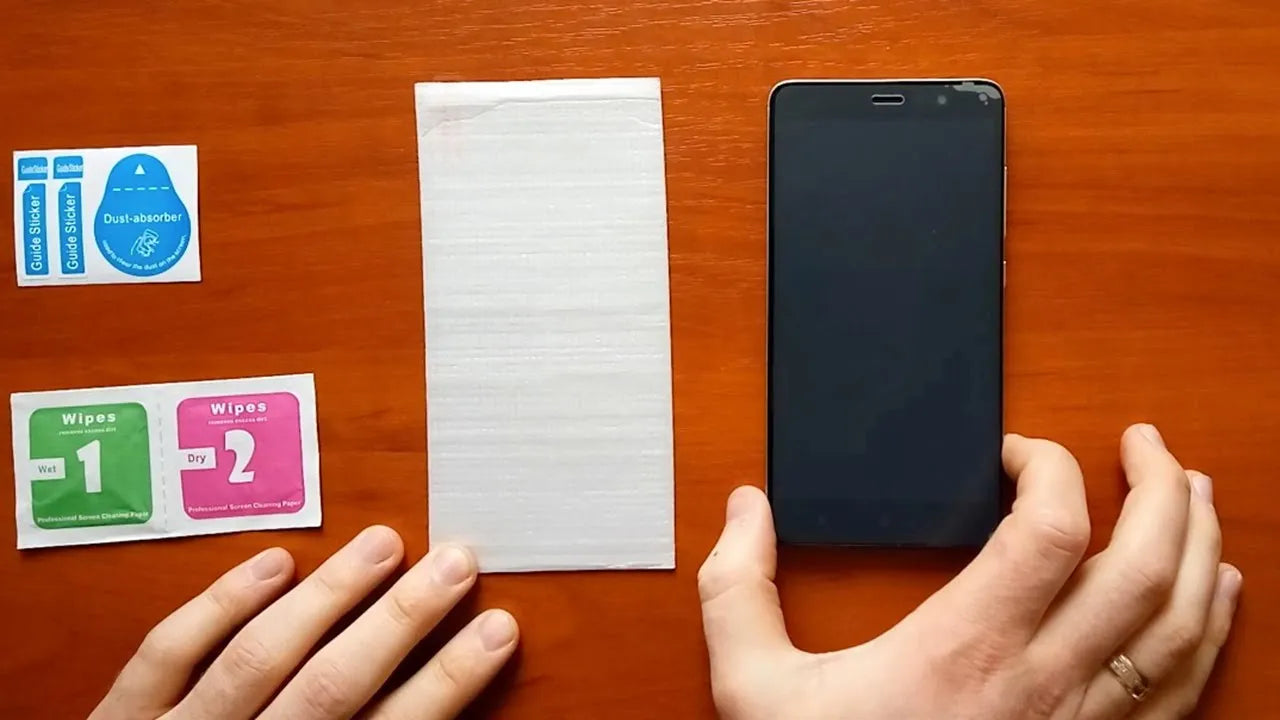
In order for you to be successful during application there are certain items needed namely;
- Your preferred brand
- Microfiber cloth
- Dust removal stickers
- Alcohol wipe (optional depending on the brand)
- Squeegee/card etc.
Third Step: Set Up Your Workspace
Choose a clean area that is well lit up and free from dust particles where you can comfortably work at. You may use bathroom after having taken very hot shower since steam settles down floating dusts making it perfect for such activity. Find flat surface which should be immaculately clean also ensure thorough hand washing so as not to transfer any oil or dirt onto your gadget.
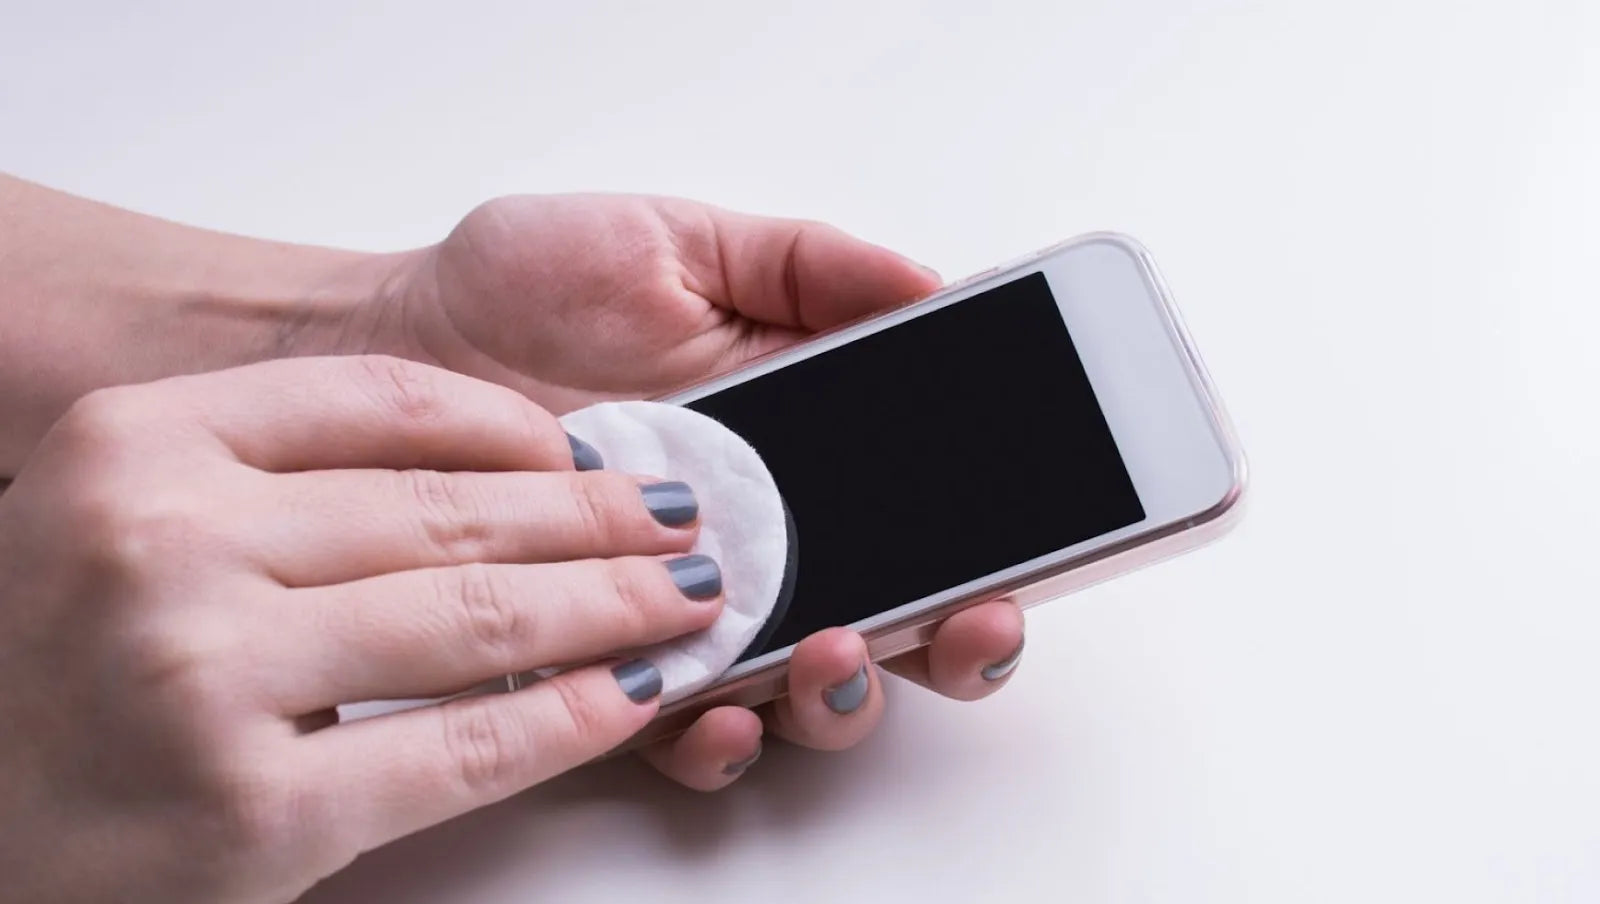
Fourth Step: Clean the Screen of Your Phone
Take an alcohol wipe and use it to get rid of fingerprints, oils or any other residue that may be on your mobile phone screen. Dry off with microfiber cloth then buff until the surface shines making sure there are no dust particles left behind; if still some remain use stickers provided for this purpose but do not press too hard as you might damage either side of protector film. This step is very crucial when considering how to put screen protector without bubbles.
Fifth Step: Peel Off and Positioning
Remove only one side of its cover sheet while ensuring not come into contact with sticky part then carefully place it over your device display aligning properly around speakers, cameras openings etc., some brands have got frames or tools which help align correctly these can also come in handy during such process.
Sixth Step: Attaching Protector Film
Having verified accurate alignment gently lay down protector film onto phone starting from one end towards another taking care so that no air pockets are trapped beneath thus causing bubbles to form later on. For tempered glass type they may stick automatically without much effort being applied from user’s end because they tend to cling strongly due their thickness hence becoming more adhesive when exposed heat during application period.
Seventh Step: Bubble Removal
If there happen any air bubbles squeegee outwards using credit card edge slowly but firmly pushing them towards nearest edge being cautious not cause any damage onto either screen surface nor protection material itself; should small ones remain does not worry they will normally disappear within few days time by themselves as long as everything was done correctly.

Eighth Step: Final Touches
To ensure all-round adhesion inspect edges also polish once again with microfiber cloth and there you have it, protected!
Bear in mind, keep patience. Go through each phase slowly for best results. If there are stubborn bubbles, lift the screen protector up a little with some tape from the nearest side and push out the bubble with the squeegee before applying it again.
You may need to register your fingerprints again after putting on a new screen protector, especially if you’re using a tempered glass protector which adds some thickness.
How To Apply A Screen Protector Without Bubbles?
No doubt, including an extensive list of things not to do when applying a screen protector can vastly improve your chances of getting it right. Let’s go over the most important “don’ts” and why they matter — this will help ensure that your phone’s display ends up safe and sound!
When learning how to apply a screen protector, it’s crucial that you avoid making any of these common mistakes which could compromise its ability to protect your device. Firstly, failing to work in a clean environment free from dust may cause particles to become trapped beneath the screen guard leading to ugly air pockets and decreased visibility. This not only makes your gadget less attractive but also interferes with smooth touch operation.
Also, don’t use paper towels or other fabrics besides microfiber cloths for cleaning — they might scratch or leave lint on the surface which will make it nearly impossible to get a smooth installation. The reason why one has to use a microfiber cloth is because it cleans gently without causing any harm or leaving behind residue.
Another thing you should never do is touch the adhesive side of your phone’s cover with fingers as this introduces oils and prints thereby complicating its application process; these contaminants create air pockets and prevent good adhesion thus compromising effectiveness.
Additionally, rushing through alignment and applying can lead to misalignment where parts remain unprotected or peeling off occurs prematurely due to poor sticking; lack of attention like this renders even highly rated protectors useless requiring one start afresh wasting much time and money in between.
Forcefully pushing out air bubbles without care can crack or damage the screen guard especially when made from tempered glass; gentle smoothing over time is important for preserving its integrity so that it works well without introducing faults.
In summary, success in applying a screen protector depends not only on what you do but also on what you don’t do. By creating an ideal working area, gathering correct equipment and following established methods as well as taking your time with accurate approach; you are laying foundation for keeping your phone’s display flawless which is. This thoughtfulness protects against common fails that might compromise the safeguarding capabilities of this gadget.In these technology-driven times, it is important to know how to put screen protector so as to save money and keep your screen clean. You can achieve professional-quality results without leaving home by preparing well and taking it easy. Remember that the objective is not only to protect the display of your phone, but also to preserve its sharpness of image and sensitivity to touch. Take as much time as you need following this instruction; your handset will thank you for it.
Go to Catalog


